Download LogView and install it.
Start LogView and change the language setting to English (Datei–>Sprache–>English). Select the log device type “JLog2″: Device–>choose-device-and-port… –>subwindow: Select “SM JLog2″.
Customize your LogView:
- Select the graph items you want to see at a time: Graph settings–>checkboxes.
- Customize the colors of them: Graph settings–>right mouse button –>Curve color.
- Change the background color: Graph area, right mouse button: Background (black is a good color).
- Save your settings associated to the device “SM JLog2″ as template and default: Graph–>save draft graph.
JLog Configurator JLC
Download and start JLC. JLC will unpack itself by that. Unpack and install in a (temporarily used) directory with a path not too long and not containing special characters.
Install by clicking “setup.exe”. Answer questions with “yes”. If your platform does not already have, the installer will download and install (one time) .NET (about 20..25MB). Make sure that your PC has access into the internet for that. The JLC install files “setup.exe”, “JLog Configurator4.application” and “Application Files” can be deleted afterwards.
JLC speaks English (click the Union Jack). In the lower left corner we have a box for help text. Everytime you hover the mouse pointer over an item on the JLC desktop or click into it – the corresponding help text appears in the box.
What is the minimum configuration required to be done by JLC? Your standard device type is “JLog2 3.2.2 —-”. Define the “brushless motor poles” and the gear ratio. The ratio can be defined two ways: Upper checkbox clicked: Pinion:Maingear. Broken tooth for 2- and more stage gears. Lower checkbox clicked: Direct ratio input 1:nn
Now put the microSD card into the USB reader and the reader in a USB port of your PC and save the configuration onto the card by a click on “Speichern/Store”.
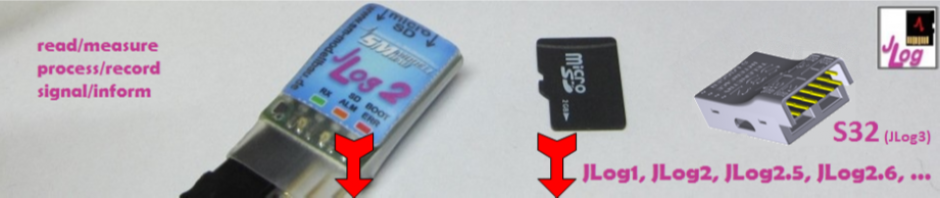
JLog - The Logger itself
Download the latest standard firmware release from here, e.g. this one.
Copy the update file on the SD.
Insert the SD into JLog, connect the logger by the servo patch cable to the JIVE as to be seen here, respectively here.
Connect power to the JIVE (the main battery), the logger will start and flash itself – as well as read, learn and remember the configuration. Let the JIVE initialize so the diagnostic data stream which JLog processes will contain time stamps also. Let it run for a few seconds, if you can, move the servos a bit and try a short spoolup. Then disconnect the battery, remove the SD and put the card back into the PC by the USB reader. (Remove the update file from the SD.)
Re-open the config file on the SD by JLC. Some features as HoTT telemetry and the JIVE speed corrector are only visible after the logger had first write access to the file.
Now make your first import of a log file: In Logview: File–>Import Devicefile. Navigate to the SD and into the directory d000-510 and select a file log000….txt.
Voilà, here we are.
Play a bit with your log. Notice that a log file may contain more than one log session. In the upper area there is a window showing “Channel 1″ and right hand of this is the selector window for the log sessions. - You may now import more than one log file. Each log file consists at least one additional log session.
Remember: To zoom into a graph is the prerequisite for successful forensics.
Now export your log(s): File–>Save As. The saved file ends in .lov. This is also OpenFormat as the imported device file is, but it contains all your LogView setup including the device definition (SM JLog2) on top. So everybody you send the .lov will be able to see what you have seen by simply open the file with LogView (Yes, open, like double-clicking in the explorer, not import.).
That’s it, and this was the fu*ing manual in a short.
—————-
More and Advanced
If you’re interested in using also JLog-own sensors or drive an alarm device or feed a telemetry system by JLog then you need to have a look into the “Alarms” respectively “Optional Interfaces/Sensors” section of JLC and check out the connectivity.
If you even want more than the standard firmware of JLog is able to provide, you may need a special firmware to be flashed onto the logger. Check the Feature Matrix for that.